Wednesday, October 28, 2009

Cute Pumpkins & What Home Means to Me

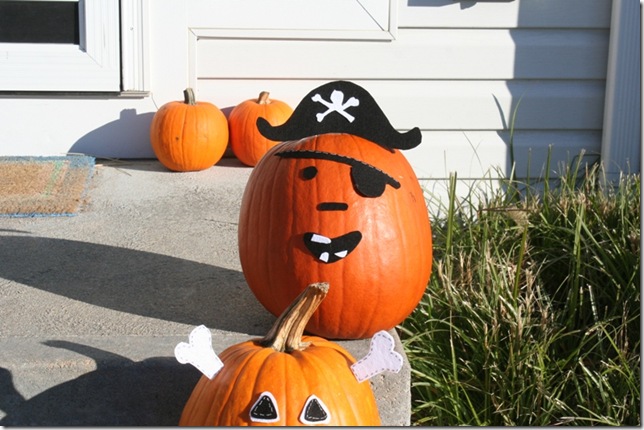
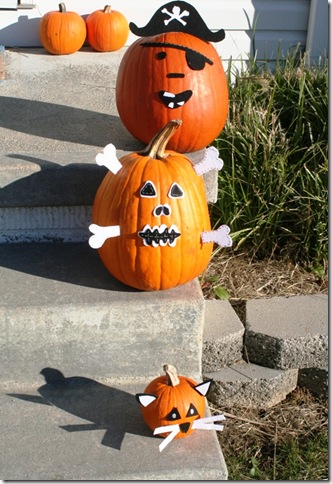
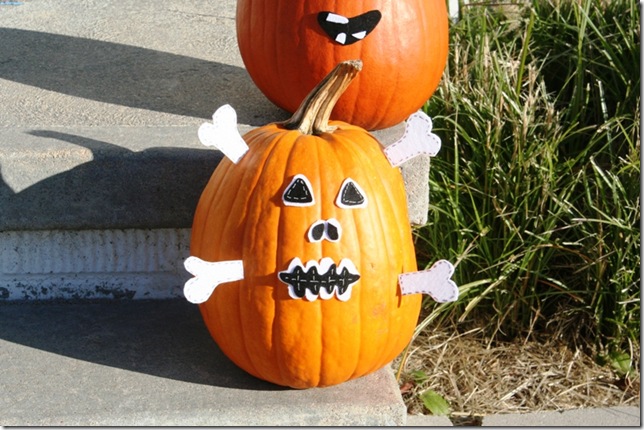
Carving pumpkins is an idea that I always love at first – and then before I’m done scraping the insides totally want to be done.  So when I saw this post from Living with Lindsay it just spoke to me.  I didn’t get the sticky-backed felt that Lindsay recommends, but hot glue worked just fine. 

 IMG_8228

IMG_8226 

IMG_8227

Also, a little note for the fantastic people who follow this little old blog (i.e., mom)…. I love doing this.  I love finding little projects to help make my home more comfortable, plus having a hobby of my own is sanity saving!  I have to say I would love to have the time and energy to post something creative every day like some of my favorite bloggers. 

That being said, when it comes to a home, even if it is a home in progress, the most important thing about a home is the people in it.  My kids don’t care if that shutter will tie in the hutch color from the front room – they want to finish that puzzle, go the library, play hide-and-go-seek (a new favorite).  So in order to be here more for them, and less for my furnishings, instead of feeling guilty that I don’t post daily – I’m just going to try to have a weekly post.  (Until I get better at this time management thing seriously how do some of my favorite favorites get everything done?)  So check back on Wednesdays – that’s a good blog post day, yeah? 

Thanks for sticking with me – and send me your projects!

Monday, October 19, 2009

Shutters Turned Wall Art & Your Submissions

If this is your first visit to A Home In Progress, click here for an explanation of what this site is. I would LOVE to feature some of your home DIY projects or recipe creations.

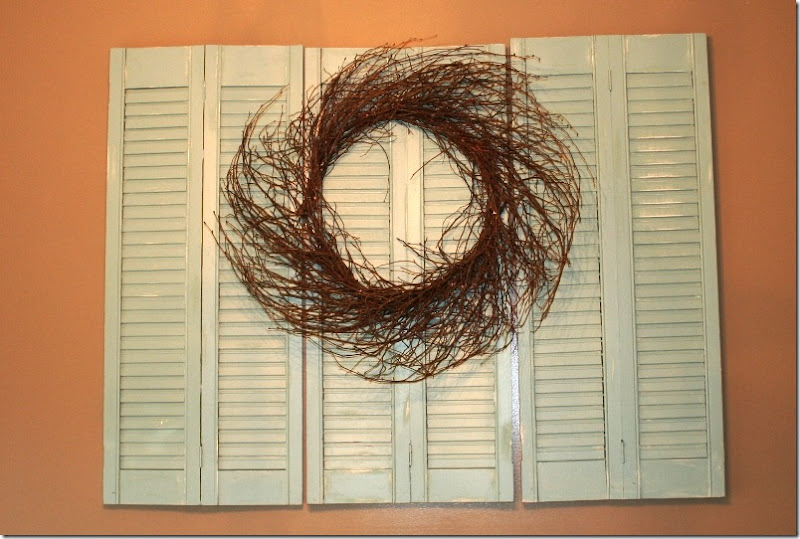
This wall in my dining room has had me perplexed since we moved in last year. My mom and I (mostly her) came up with the idea of a grouping of similar photos. It looked good, but after awhile I was itching to try something new.

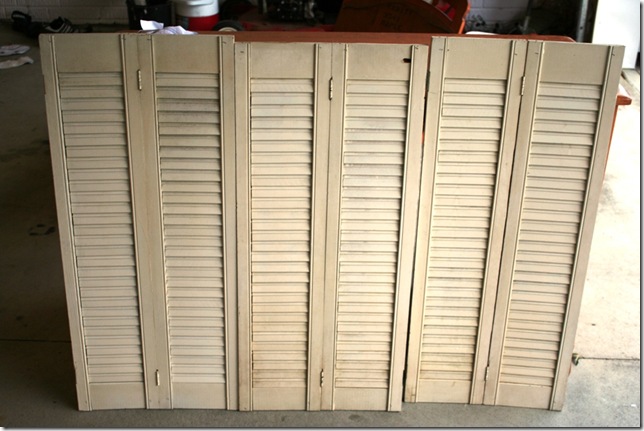
After running into this amazing idea while blog hopping, I knew I had found my idea! Now, I just needed to find some shutters. I found one ad on my local Craigslist but the ad was two weeks old, so I was sure they were gone. I emailed the seller just in case and score – somebody was supposed to come pick them up but never showed. I was there, with cash in hand, the next morning!

IMG_8070

The shutters were pretty beat up – I probably should have bartered with the seller instead of showing up the exact amount she was asking!

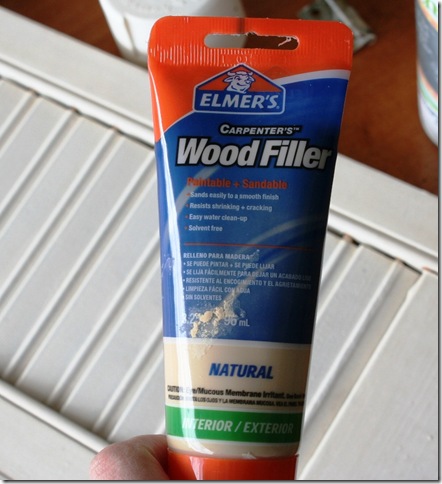
I used some wood filler to fill a couple of the bigger gaps.

IMG_8130

I was going to use the same red paint that I had seen on the original blog. But I had the leftover Halcyon Green paint from my hutch project. (Click here for that project.)

IMG_8132

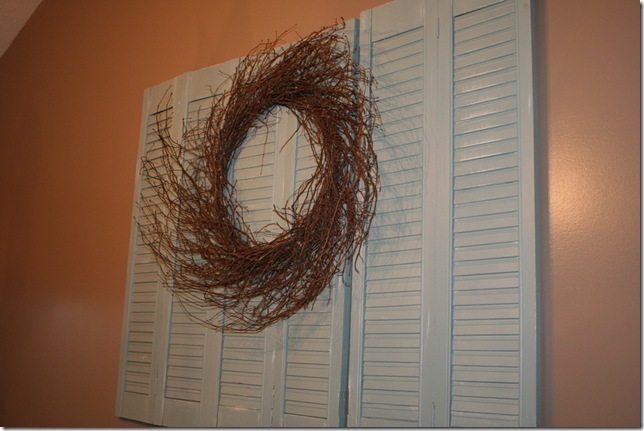
I think it’s probably a good thing I’m drawn to distressed furniture – I am not a perfectionist painter. After the shutters dried, if there were any obvious drips, that’s where I added a little “distressing” and sanded them down.

IMG_8205

I didn’t take any before pictures, but I think it’s an improvement! (The after pictures aren’t great – it has been cloudy here all day every day for the past couple of weeks, so I had no natural light with these photos!)

IMG_8220P.S. Those of you lucky ladies who have won these chalkboard labels – I haven’t forgotten about you! They will be in the mail this week!

P.P.S. (or is P.S.S.?) I'm also linked up to Kimba's DIY Day at A Soft Place to Land. Warning: Don't go lookin' over there unless you have LOTS of time to kill! So many great DIY projects....so little time.

Wednesday, October 7, 2009

A little tip…

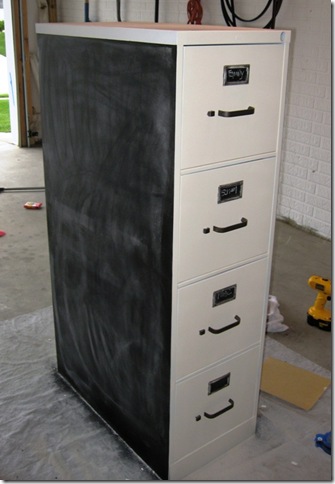
I’m sure every other blogger out there knows this, but just in case you DON’T…. If you ever need a can of chalkboard spray paint, you know, so you can do projects like this: Cabinet Full

Or this:

closeup

Don’t buy it at your craft store. I was getting supplies for an upcoming church activity I’m planning and the can of chalkboard spray paint at a certain craft store (that rhymes with “Schmichael’s") was $7. I kid you not, $7.

Then browsing through Walmart’s paint section last weekend, I found they carry the exact same brand of chalkboard spray paint, same size can, everything for $2.50. I’m used to maybe a $1-2 dollar discrepancy, but seriously! Has anybody else ever noticed this? Am I missing something?

~~~~

On another note, one of my favorite parts of fall decorating is seeing what people do to their front porches. Come back tomorrow for a tour of some great fall porch inspirations!

Monday, October 5, 2009

Touches of Fall

Unlike so many of my home-decor blogging friends, I haven’t had one ounce of inspiration to start decorating for fall!  I think it’s because I lost my fall decorations box when I moved last year have been so busy! 

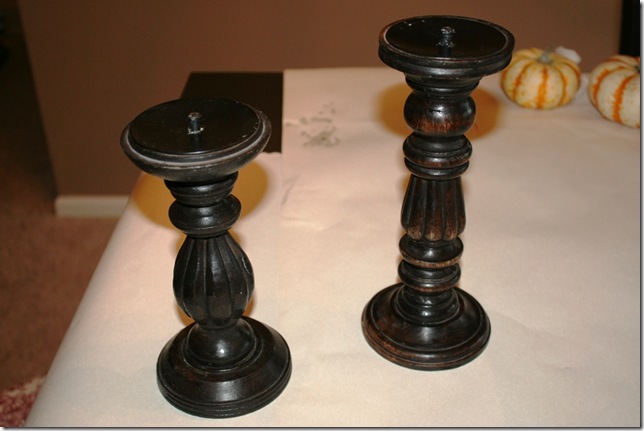
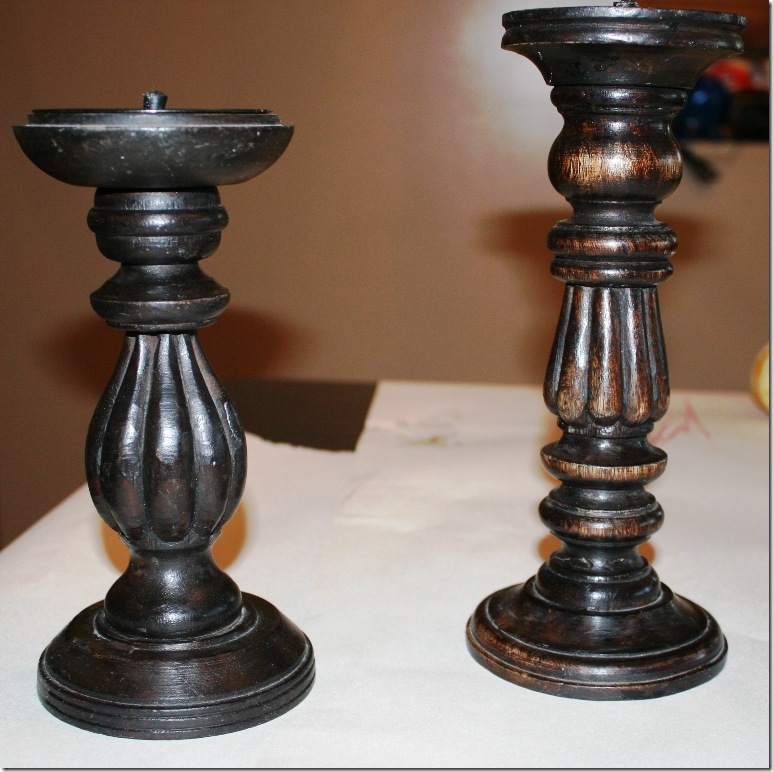
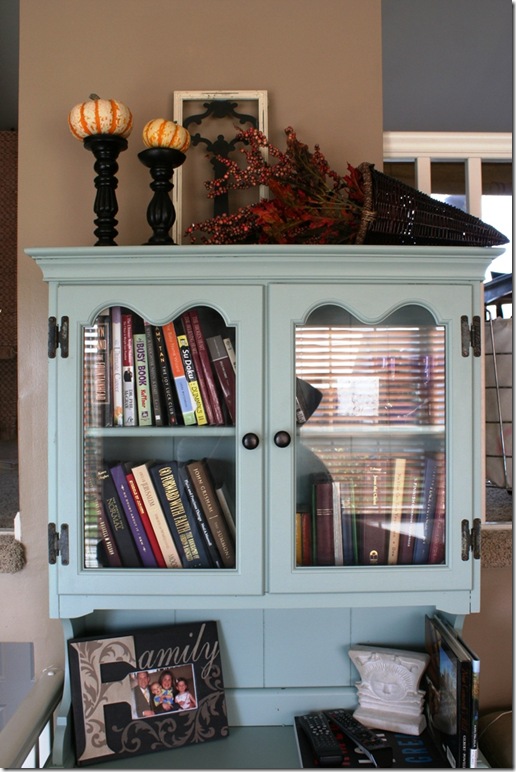
I made a trip to the closest Goodwill on Friday to see what I could find.  That’s when I found these babies, who at $2 bucks each, came home with me.

IMG_8026

IMG_8027

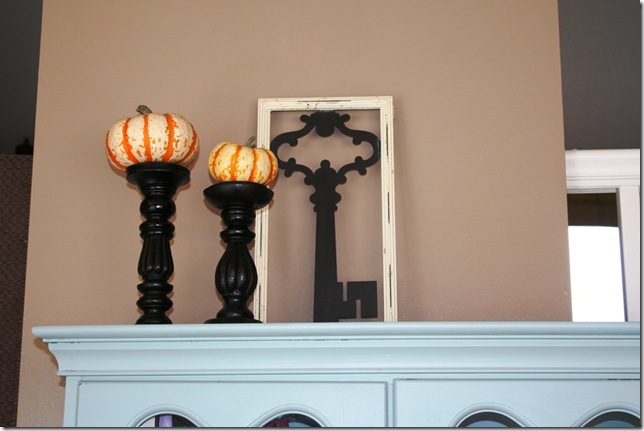
They needed a little love, but that’s nothing a little black spray paint couldn’t fix.  I sprayed them black, then put a couple of little 3/$1 gourds on top. 

IMG_8032

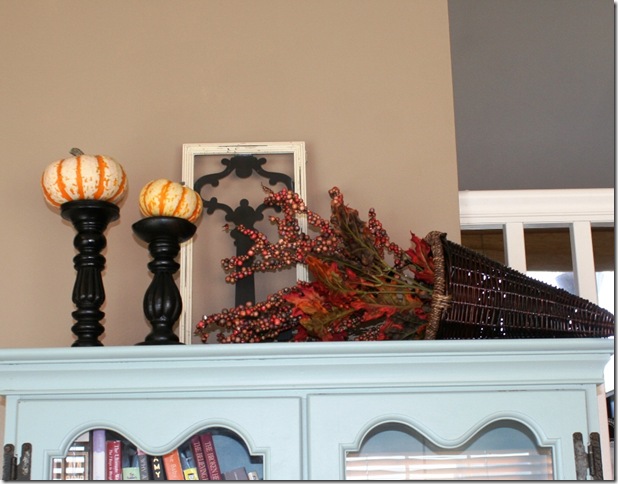
Something was missing.  I had a little wicker cornucopia (it’s true I needed spell check to spell cornucopia correctly.  Hey, it’s Monday!) I got for 50% off at Hobby Lobby.  I love it because it’s not so Halloween-y that I can only use it for October, it’s a great Fall piece.  Which means I don’t have to change it until after Thanksgiving! 

Anyway, I added some fall stems, also at Hobby Lobby at 50% off.  (Side note: I’m told that all of their fall items will go up to 90% off in the next several weeks.  This would be a good time to stock up for next year.)  Because I didn’t have enough stems to look as full as I wanted it to, I just used some floral foam in the bottom of the cornucopia to keep the stems from all falling to one side.  

IMG_8033

IMG_8034

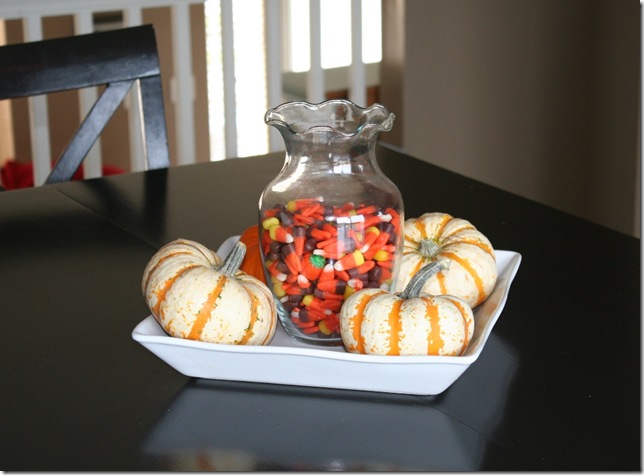
Much better!  I had a few left over gourds, so I put them on a rimmed serving platter, filled a regular vase with some candy corn, and had a one-minute, $1 fall centerpiece for the dining room table.

IMG_8030It looked a little plain, so I took a few of the berry stems and leaves from the bottom of my floral stems I used in the cornucopia.      
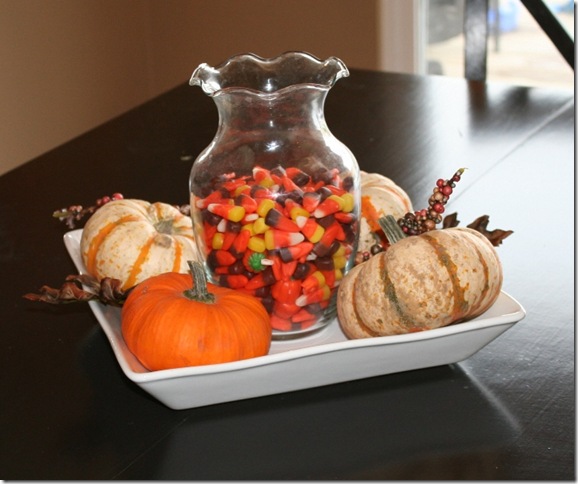
IMG_8056Much better! Not bad for fifteen minutes of a Sunday afternoon. 

Have you started decorating for fall?  Any tips for getting motivated?  Bath and Body Works has their Slatkin & Co. candles 2/$20 this week, maybe a fall scented candle would put me in the fall spirit?  It’s worth a shot, right???

Friday, October 2, 2009

Foodie Friday

I am getting so many great recipe ideas from friends and readers that I decided to start a “Foodie Friday” because after all, food is a major part of any home (at least it is in mine)! Brenda from B’dub’s Cafe sent in this recipe that is a perfect start to fall.

When Fall time comes around, there are a few fall MUST haves, with pumpkin crunch being 1 of them! I first time I had this gem was at a church function, which I was lucky enough to get the recipe from my friend Alana. It took me almost a full year to make it myself (I guess I had forgotten how good it was over time!) Not anymore! I decided to make this for my husband and I's wedding anniversary a few years ago. Let's just say I won extra points with him. We both Oohed and Ahhed at this dessert. Why had I not made it before?

Now my hubby begs for this, and we actually don't only make this during the fall. We crave it all year round! Plus, this is super easy to make. I am not talking kind of easy, I am saying, you throw a few ingredients together, stir, and put in a pan, cover with a dry cake mix and butter and VOILA!

The only down side to this dessert is that you have to bake it for 45 minutes and then LET IT COOL! We can never wait, but it does taste best when it is chilled. We actually don't even need cool whip or ice cream with this. Oh sure, it enhances the taste a little, but the pumkin crunch is so good by itself, it doesn't need ANYTHING else to make it taste better! Just try it...you will see!

Pumpkin crunch

1 box yellow cake mix

1 cup melted butter or margarine1 tsp cinnamon

1 (15 oz) can pumpkin (about 2 1/4 cups, give or take)

½ tsp salt

1 (12 oz) can evaporated milk

3 large eggs (4 medium)

1 ½ cup sugar

½ cup chopped pecans (optional)

Cool whip/whipped topping or ice cream

Preheat oven to 350 degrees. Grease bottom of a 9x13 pan or 2 pie dishes. In a large bowl combine pumpkin, evaporated milk, eggs, sugar, cinnamon and salt (instead of using cinnamon and salt, you can substitute with 2 tsp pumpkin pie spice if needed).

Pour into pan. Sprinkle dry cake mix evenly over pumpkin mixture. Top with pecans (I have never done this since we are not nut lovers, but I think it had nuts in it the first time I tried it, so it is good either way). Drizzle melted butter over pecans.

Bake for 50-55 minutes or until golden brown. (My oven cooks faster and it only took about 35-40 minutes. Just check it after 30 minutes. It should be brown on top. Cool. Serve chilled with cool whip or ice cream.

Note: After I pour the butter over top, I usually spoon the butter over parts of the dry cake mix that didn't get covered with butter to make it more evenly distributed.

Yum! This is a perfect treat to try this weekend!